
H1266 Framework Universal Camera Mount
This guide is also available as a printable PDF.
In the box
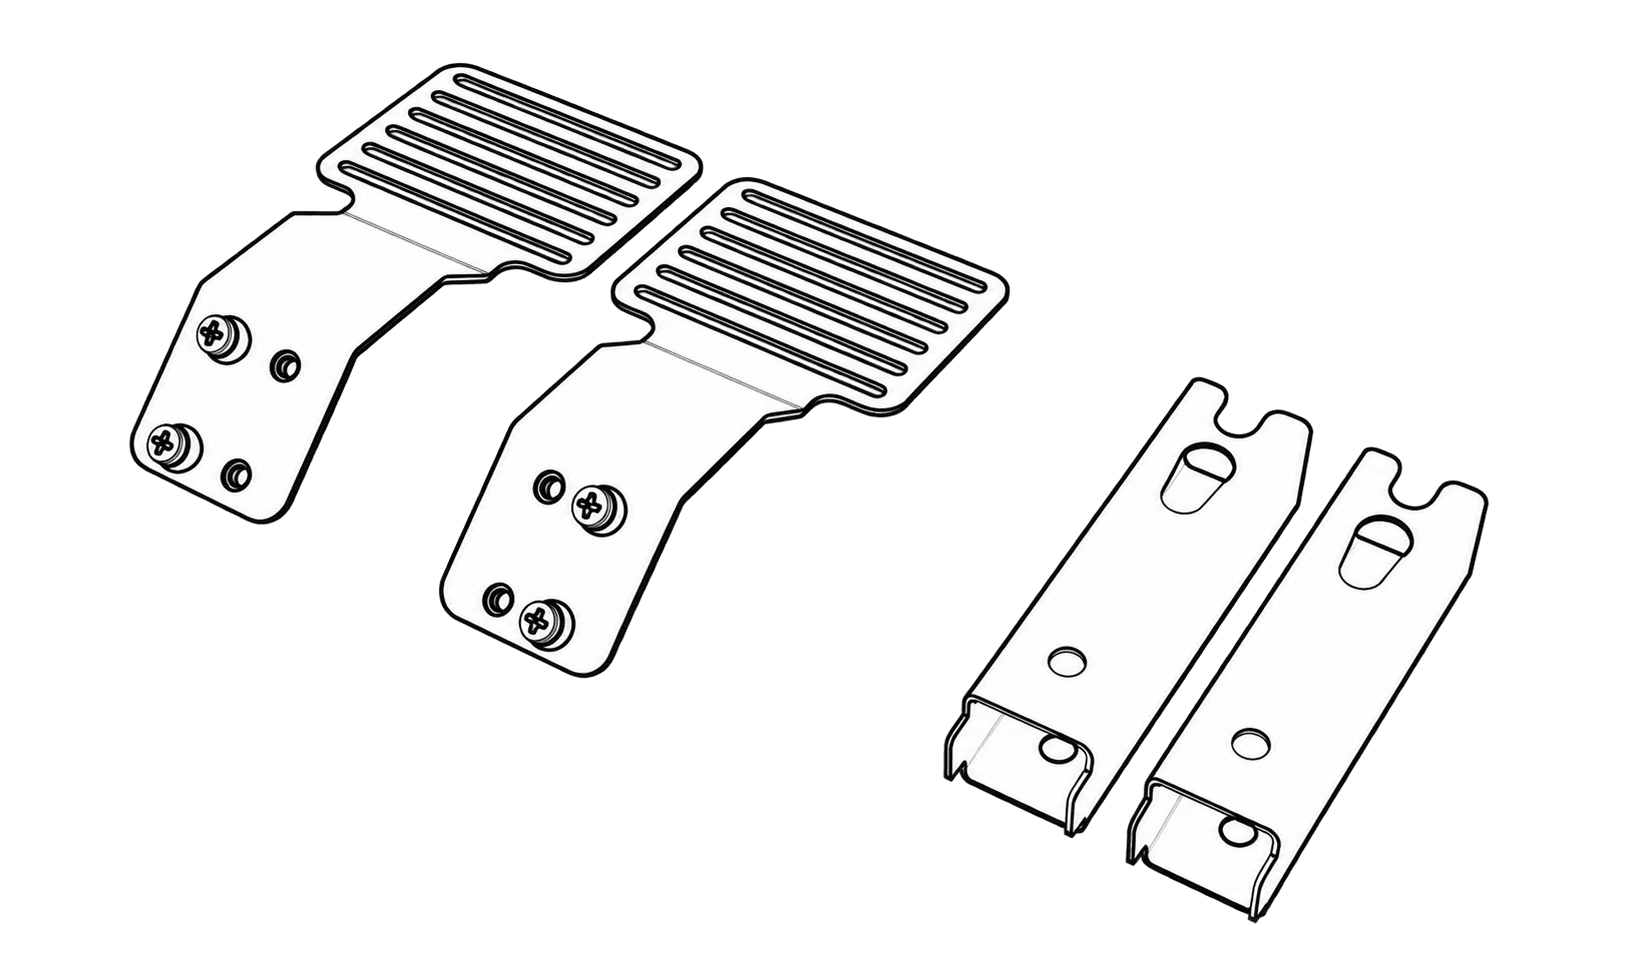
- 2 mounting plates (R1096-BG)
- 2 mounting tubes (R1074-BG)
- 2 M8 beam-mounting screws (F288)
- 2 M8 beam-mounting locknuts (F289)
- 4 M4 camera-mounting thumb screws (F839)
- 4 M4 camera-mounting thumb nuts (F838)
- 1 6 mm beam-mounting key (F535)
The mounting plates arrive with four Phillips screws (F309) and four M6 anchors (P302) preinstalled.
Tools and materials
- Camera and its manufacturer's wall bracket
- Supplied 6 mm beam-mounting key (F535)
- Tape measure
- Pencil or removable marker
- Any tools required by the camera manufacturer for its wall bracket and camera
Before starting, check that the camera's wall bracket can be fastened securely to both mounting plates with the supplied hardware. Check clearance for the camera, Framework panels and cables. Contact Heckler before installation if device fit or load suitability is uncertain.
Remove the shelf and panels
Remove the Framework shelf, front panel and backsplash panel.
Measure the camera wall bracket
Measure the distance between the two mounting holes in the camera bar's wall bracket (dimension A).
Mark the beam sockets
- Position the camera wall bracket at the center of the Framework.
- Mark the two available beam sockets closest to the bracket's mounting holes.
Insert the first mounting tube
Insert a mounting tube (R1074-BG) into one of the marked beam sockets.
Fasten the first mounting tube
- Fasten the mounting tube to the beam with a beam-mounting screw (F288) and lock nut (F289).
- Tighten the screw with the beam-mounting key (F535).
Install the second mounting tube
Install the second mounting tube (R1074-BG) in the other marked socket. Follow Insert the first mounting tube and Fasten the first mounting tube.
Fit the mounting plates
Slide the mounting plates (R1096-BG) onto the mounting tubes, as illustrated.
Attach the camera wall bracket
- Align the camera wall bracket across the mounting plates.
- Attach it with the included camera-mounting thumb screws (F839) and thumb nuts (F838).
Connect and install the camera bar
- Route the camera cables upward behind the camera wall bracket, as illustrated.
- Connect the cables to the camera bar.
- Install and secure the camera bar on its wall bracket according to the camera manufacturer's instructions.
- Check that the camera, wall bracket and mounting plates are stable and securely attached.
Reinstall the shelf and panels
- Reinstall the Framework shelf, front panel and backsplash panel.
- Check that the panels seat fully without pressing on the camera, bracket or cables.