
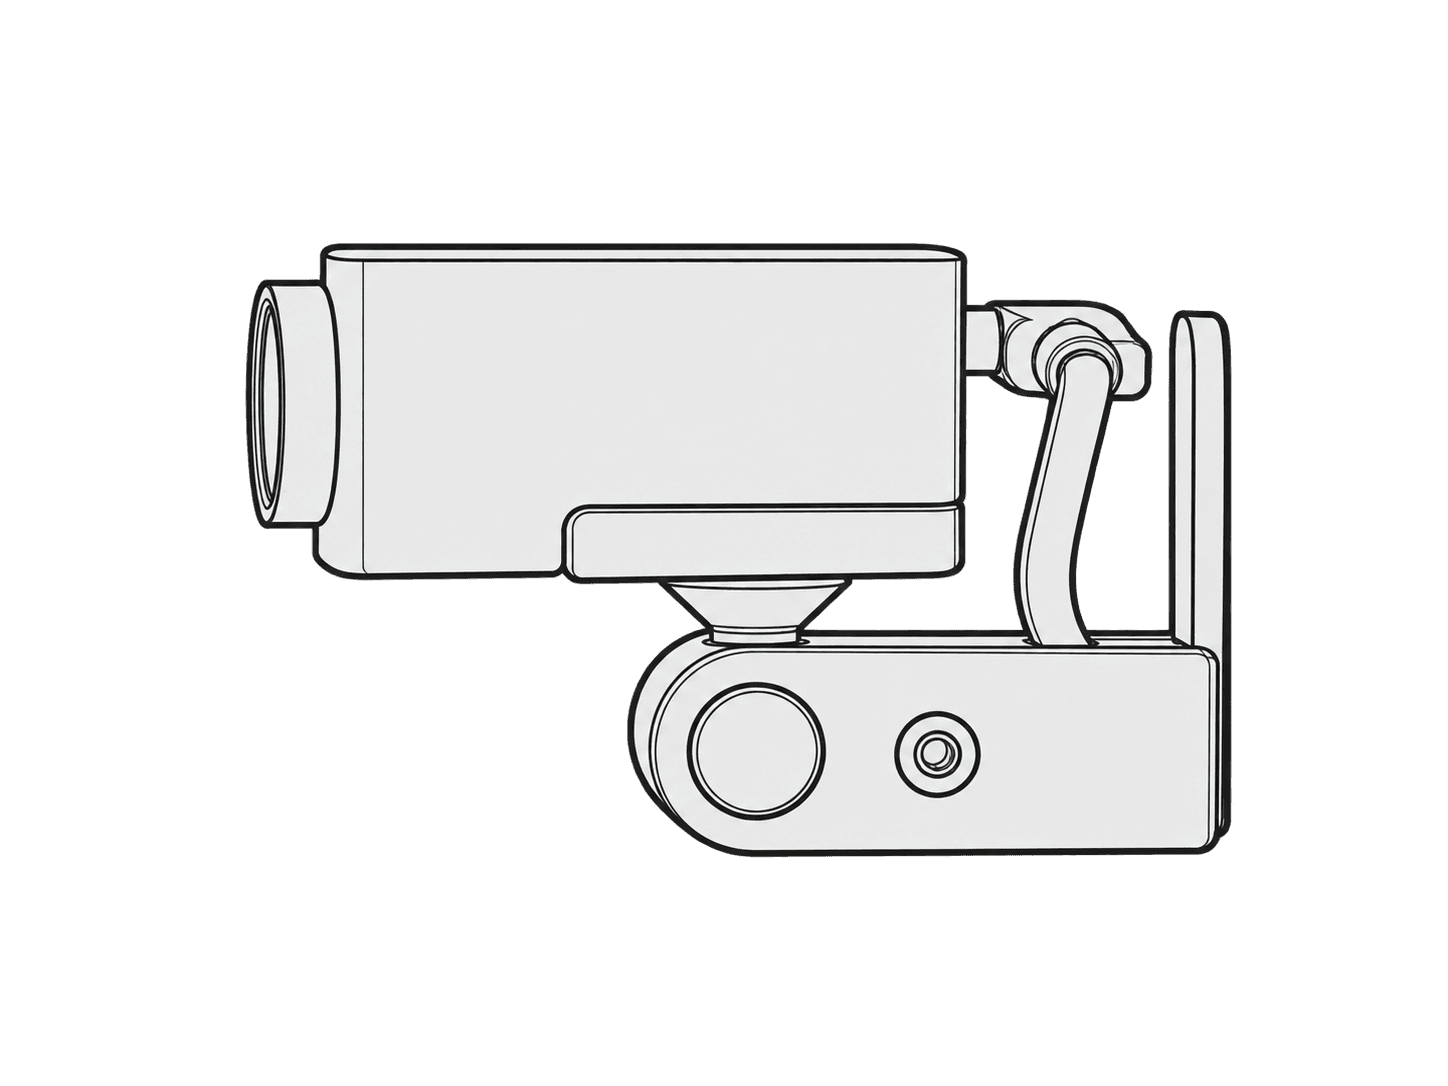
ADA Camera Mount for Huddly GO & Huddly IQ
This guide is also available as a printable PDF.
In the box
1 x ADA Camera Mount
1 x Wall Achor
1 x Hex Key, 5/32”
1 x Mounting Screw
Tools and components needed
TOOLS NEEDED
Tape Measure
COMPONENTS NEEDED (Not Included)
Pen
Power Drill
Huddly GO & Huddly IQ
Phillips head Bit
1/2” Spade Drill Bit
2m USB 3.0 Huddle Room/ Desktop Cable
If you have any questions, please contact
service@hecklerdesign.com.
Locate mounting position
Important Notes:
Locate and mark the ideal location for your ADA Camera
Mount. It could be mounted underneath, above or beside
the display.
Install the wall anchor
Optional: mark and drill the cable hole
Mark and drill the hole
Important: Drill a 1/2-inch hole for the cable to pass through the wall.
1 3/8”
1/2” hole
Optional: route the USB-C cable through the wall
Route the USB-C cable through the wall
Fasten the ADA Camera Mount
Install the Huddly GO or Huddly IQ
1. Connect the USB-C cable to Huddly GO or
Huddly IQ Camera.
2. Fasten the camera to the ADA Camera
Mount with the hex key.
Adjust and set camera orientation
Loosen the screw with the hex hey to adjust camera orientation, and then tighten it.
Support: source product information
H583 - ADA Camera Mount for Huddly GO & Huddly IQ