
Camera Shelf for Monitor Arms
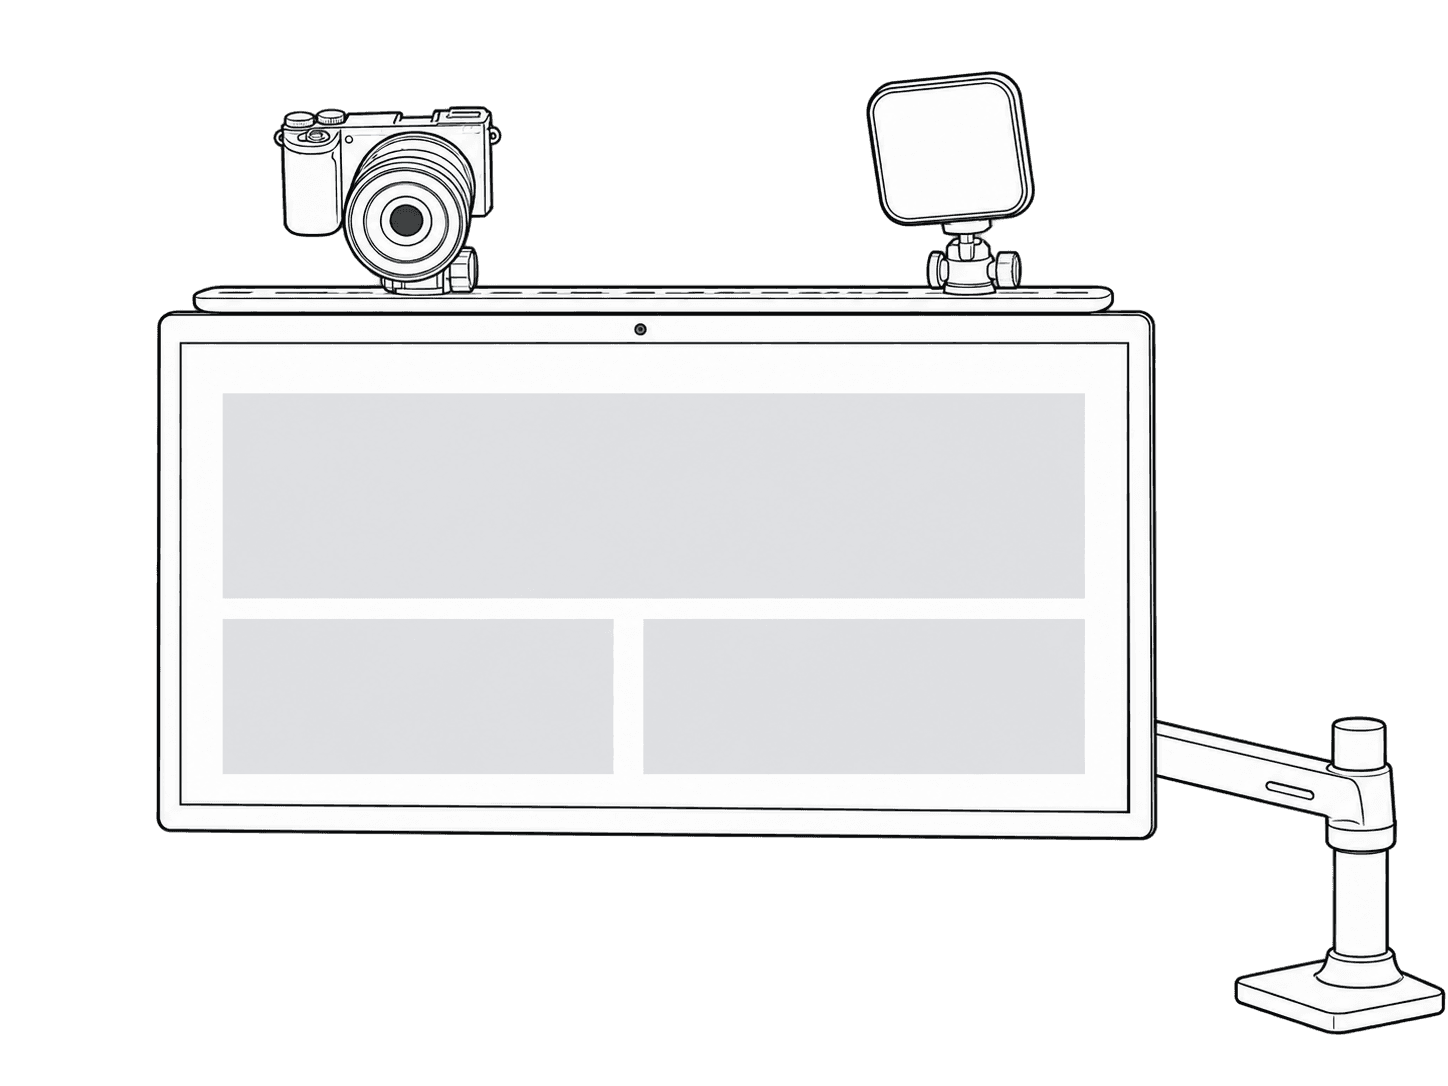
This guide is also available as a printable PDF.
In the box: H624
IN THE BOX
1 x Heckler Camera Shelf
4 x M4 assembly screws
2 x 1/4”-20 mounting screws
4 x Mounting spacers
If you have any questions, please contact service@hecklerdesign.com.
Tools and components: H624
TOOLS NEEDED
Philips-head Screw Driver
COMPONENTS NEEDED (Not Included)
Display
Monitor Arm with VESA 100 Compatibility
Camera or Webcam
Tripod Head (Optional)
Light
H624: prepare the display and monitor arm
Prep your gear.
Expose the mounting holes on your display. Test fit the supplied M4 screws to ensure compatibility.
Check your monitor arm for VESA 100 compatibility.
H624: choose shelf orientation
Decide to install your Camera Shelf facing forward or backward.
Camera Shelf facing forward
The forward position is ideal when mounting smaller cameras such as Logitech BRIO and Huddly IQ.
Camera Shelf facing backward
The backward position is ideal for mounting cameras with long lenses.
H624: fasten the shelf
Fasten Camera Shelf between your display and monitor arm.
H624: install cameras and other equipment
Install cameras, llights, and other gear.
Hint: Loosen the assembly screws to enable you to slide the Camera Shelf upward to gain access to camera-mounting screws.
Tip: Small tripod heads (sold seperately) are ideal for positioning your camera and lights.
H624: lower and fasten the shelf
Lower Camera Shelf to its final location.
H624: route cables
Route your cables.
In the box: H625
IN THE BOX
1 x Heckler Camera Shelf XL
4 x M4 assembly screws
2 x 1/4”-20 mounting screws
4 x Mounting spacers
If you have any questions, please contact service@hecklerdesign.com.
Tools and components: H625
TOOLS NEEDED
Philips-head Screw Driver
COMPONENTS NEEDED (Not Included)
Display
Monitor Arm with VESA 100 Compatibility
Camera or Webcam
Tripod Head (Optional)
Light
H625: prepare the display and monitor arm
Prep your gears.
Expose the mounting holes on your display. Test fit the supplied M4 screws to ensure compatibility.
Check your monitor arm for VESA 100 compatibility.
H625: choose shelf orientation
Decide to install your Camera Shelf facing forward or backward.
Camera Shelf facing forward
The forward position is ideal when mounting smaller cameras such as Logitech BRIO and Huddly IQ.
Camera Shelf facing backward
The backward position is ideal for mounting cameras with long lenses.
H625: fasten the shelf
Fasten Camera Shelf between your display and monitor arm.
H625: install cameras and other equipment
Install cameras, llights, and other gear.
Hint: Loosen the assembly screws to enable you to slide the Camera Shelf upward to gain access to camera-mounting screws.
Tip: Small tripod heads (sold seperately) are ideal for positioning your camera and lights.
H625: lower and fasten the shelf
Lower Camera Shelf to its final location
H625: route cables
Route your cables.
Support: H624 source product information
H624 - Heckler Camera Shelf
for Monitor Arms
Designed & made in Arizona
Patented
Support: H625 source product information
H625 - Heckler Camera Shelf XL
for Monitor Arms
Designed & made in Arizona
Patented