
H648 Tripod & VESA Mount MX for iPad Air 13-inch and iPad Pro 12.9-inch
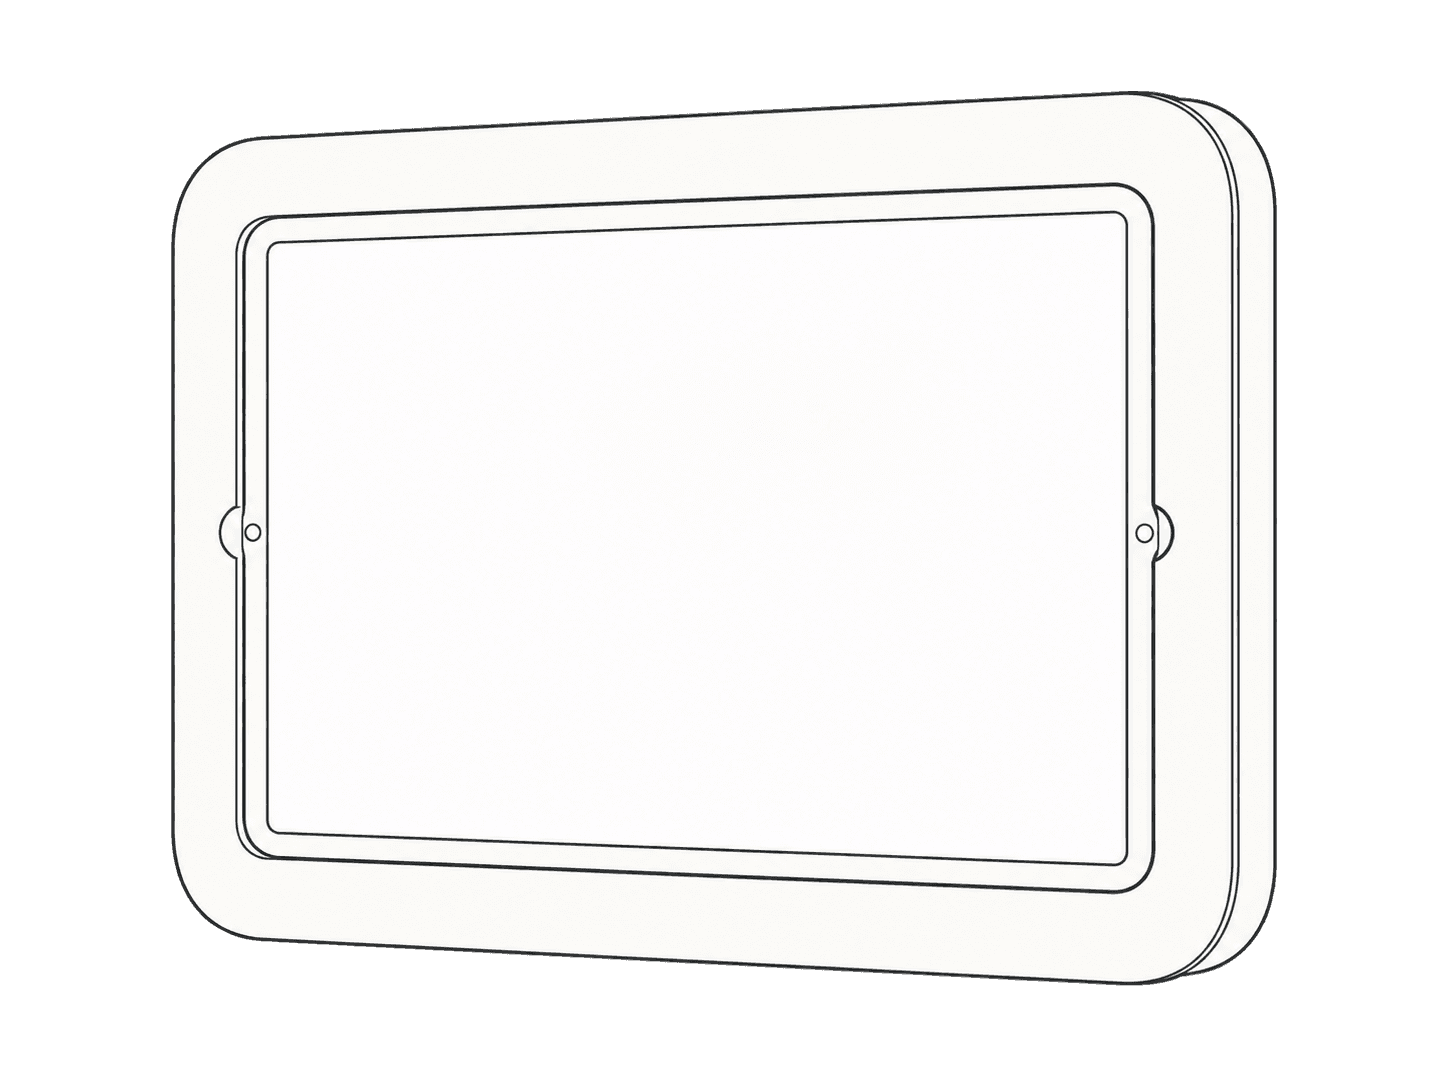
This guide is also available as a printable PDF.
Assembly overview
Assemble the enclosure. Then choose Mount on a tripod or Mount on a VESA arm. Add accessories if needed, then secure the cables.
In the box
- 1 enclosure and back-plate set (R536-BG)
- 4 M4×10 Phillips pan-head VESA screws (F474)
- 1 2.5 mm assembly key (F529)
- 1 supplied hook-and-loop strap (F856)
The right-angle USB-C adapter is optional and is not included.
The enclosure arrives assembled with eight assembly screws (F553) and protective pads installed. The supplied strap is a cut piece of F856 hook-and-loop material.
Tools and materials
Use the iPad and mounting equipment listed below.
- iPad Air 13-inch, or iPad Pro 12.9-inch (3rd, 4th or 5th generation)
- Apple USB-C cable
- Tripod or VESA 100-compatible display arm
- Phillips screwdriver
Before mounting, check the combined weight of the iPad, enclosure and all accessories against the rated weight range of the tripod and head, or the VESA arm. Include any minimum payload requirement. Follow the mounting equipment manufacturer's installation and fastening instructions.
Identify the mounting features
Locate the connection points before assembling the enclosure.
- VESA 100 mounting holes and M4 pass-through holes
- Three cork-lined 1/4-20 mounting positions
- Security slots and square cable-strap openings
Open the enclosure
Use the 2.5 mm assembly key (F529) for the assembly screws (F553). When refitting enclosure screws, tighten until snug without overtightening.
- Remove the four back-plate screws. Set the back plate and screws aside.
- Remove the two screws from the bracket beside the iPad's USB-C port. Set the bracket and screws aside.
- Loosen the opposite side bracket without removing it.
Insert the iPad and refit the back plate
Keep the USB-C port accessible while fitting the iPad.
- Slide the iPad beneath the loosened bracket.
- Refit the bracket beside the USB-C port. Leave it slightly loose until the cable is connected.
- Refit and align the back plate. Adjust the iPad position as needed, then secure the back plate with its four retained screws.
- Tighten the bracket opposite the USB-C port.
Connect the USB-C cable
Connect the Apple USB-C cable to the iPad. Then finish tightening the bracket beside the connector. The bracket shields the cable connection; a right-angle adapter is optional.
Mount on a tripod
Set up the tripod on a stable surface according to its manufacturer's instructions.
- Fasten the tripod's quick-release plate to the center cork-lined 1/4-20 mounting position.
- Attach the quick-release plate to the tripod head.
- Lock the quick-release mechanism and check that the enclosure is secure.
- Support the enclosure while checking the intended tilt and rotation. Confirm that the tripod stays stable and the cables have clearance throughout the movement.
Mount on a VESA arm
Install and adjust the arm according to its manufacturer's instructions.
- Align the arm's mounting plate with the enclosure's VESA holes.
- Fasten the enclosure to the arm with the four supplied M4×10 Phillips pan-head screws (F474).
- If replacing screws, check their reach before tightening. Screw ends must not touch the iPad.
- Support the enclosure while checking the arm's intended movement. Confirm that it holds position and the cables have clearance throughout the movement.
Add accessories (optional)
Confirm accessory capacity before adding equipment.
- Attach a light to an available 1/4-20 mounting position with an articulated arm.
- Attach a cold-shoe microphone receiver at another mounting position.
- For the illustrated audio setup, connect the receiver through an audio/USB-C adapter with a TRS-to-TRRS cable.
Secure the cables
Pass the supplied hook-and-loop strap (F856) through the square openings in the back plate. Wrap the strap around the cables and tighten it.
With all accessories fitted and cables secured, repeat the stability and movement checks for the chosen mounting method before use. Leave enough cable slack for the intended movement without pulling on connectors.