
Device Panel for Heckler AV Cart
This guide is also available as a printable PDF.
In the box
1 x Device Panel for Heckler AV Cart
1 x PTZ Camera Adapter
2 x Cart-mounting screws
2 x Cart-mounting thumb screws
4 x Device-mounting thumb screws
4 x Device-mounting thumb nuts
1 x PTZ camera-mounting screws
1 x PTZ camera-mounting key
1 x Cart-mounting assembly key
1 x Velcro for strapping devices. Two feet.
Parts and components needed
COMPONENTS NEEDED (Not Included)
Heckler AV Cart
Camera, Conference Cam, or Appliance
If you have any questions, please contact
service@hecklerdesign.com.
Device cables
Determine camera position
Determine your ideal camera position.
OR
Configure devices and wiring
You can pre-configure devices and wiring to Device Panel from a benchtop or configure in place on Heckler AV Cart.
Optional: install Tripp Lite power strip
Install Tripp-lite power strip (not included).
T498
Install Device Panel to the cart
Install Device Panel to Heckler AV Cart.
Rotate Device Panel and configure devices
Use the supplied Velcro strap to fasten your devices and cabling to Device Panel.
Choose a device mounting path
Mounting a PTZ, go to Step 6. Mounting wall-mount-style devices, go to Step 8.
Install PTZ Camera Adapter
Fasten the PTZ Camera Adapter to Device Panel as shown.
Install the PTZ camera
Install PTZ Camera.
Position your PTZ Camera and fasten in place as shown.
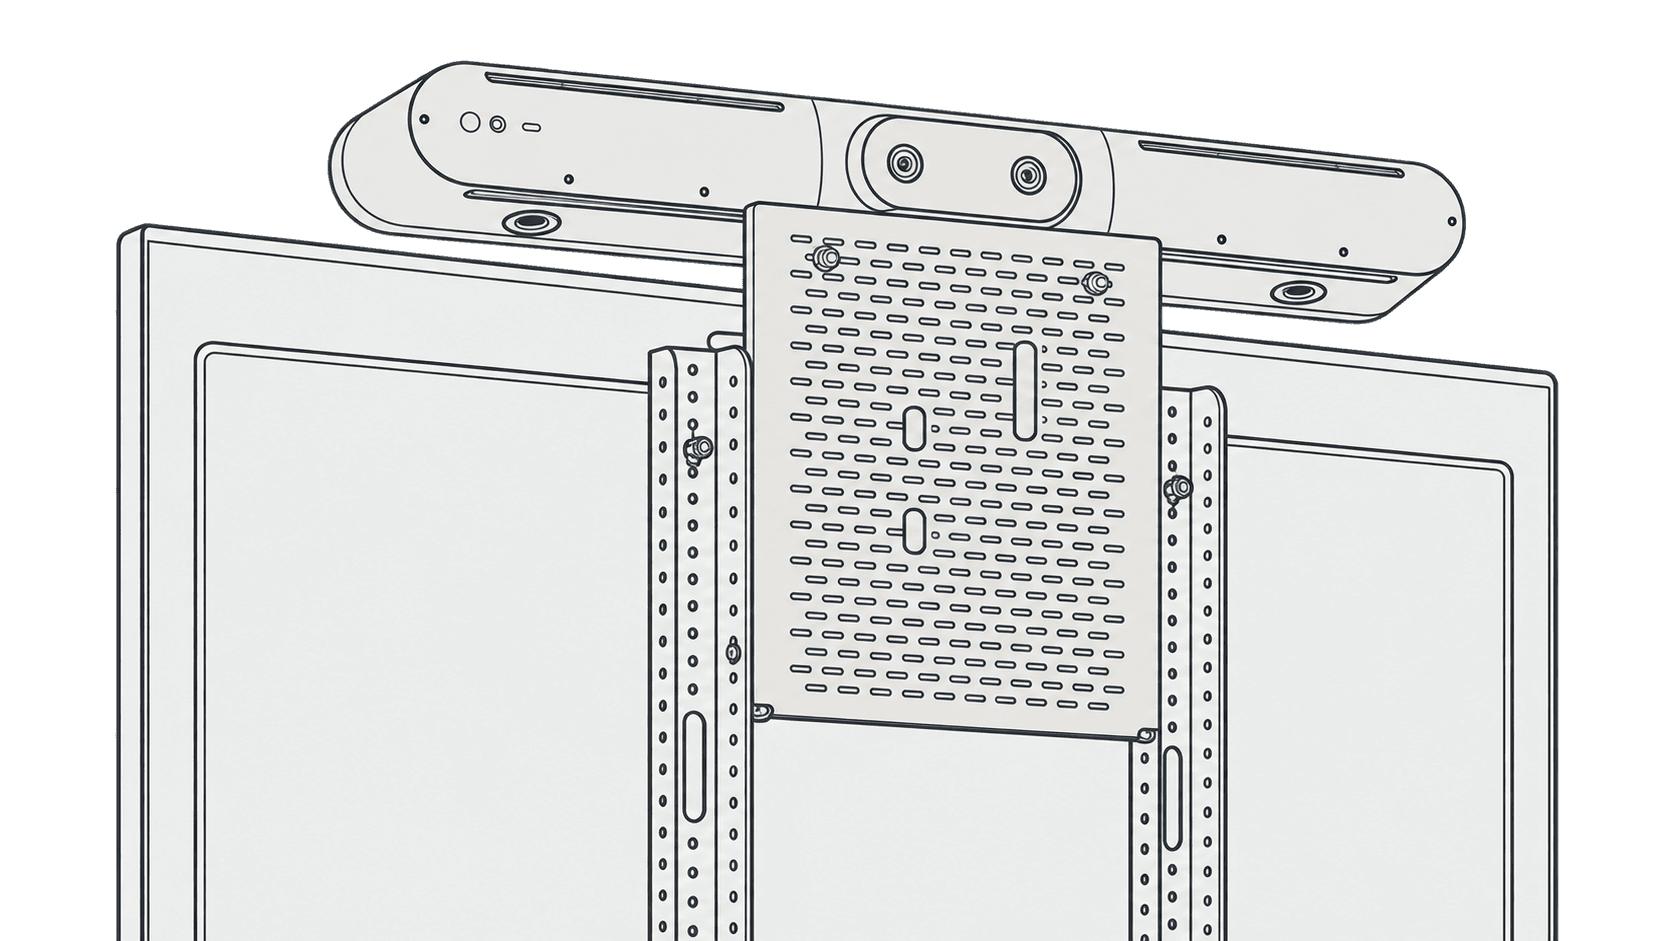
Install devices directly to Device Panel
Device Panel's hole pattern is compatible with M4 screws and VESA 25, 50, 75, and 100 mounting patterns.
Fasten Device Panel vertically
Fasten Device Panel to its vertical position using the thumscrews as shown.
Support: source product information
H702 - Device Panel
for Heckler AV Cart
Designed & made in Arizona
Patented