Welcome to the new Heckler website. Need help or want to share feedback? Use chat or the Feedback tab.

Skip to guide content
H751 · iPad 10th Generation

Zoom Rooms Console for iPad 10th Generation

Install iPad 10th Generation in the Zoom Rooms Console and route its USB-C cable and adapter.
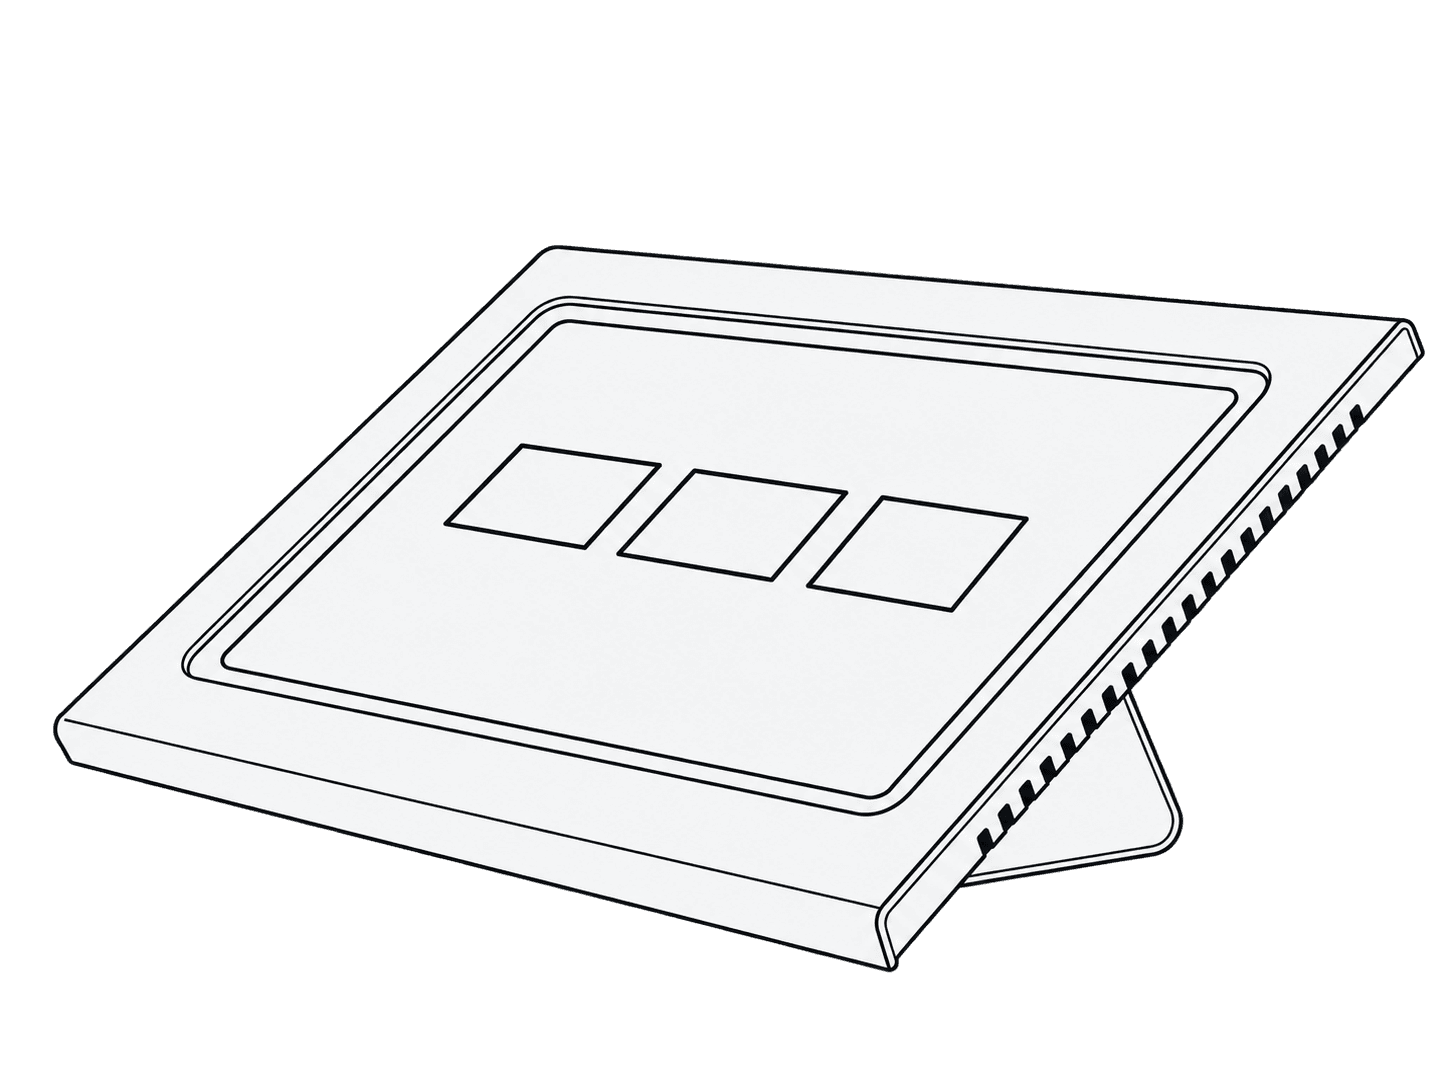
iPad fitted in the H751 Zoom Rooms Console.

This guide is also available as a printable PDF.

In the box

  1. 1 x Zoom Rooms Console
  2. 1 x Key (F160)
  3. 1 x Cable Anchor (F753)
  4. 1 x USB-C to right-angle USB-C adapter
Included components labeled a–d: Zoom Rooms Console, key, cable anchor, and right-angle USB-C adapter.

Remove the front bezel

Exploded underside view of the console and separated front bezel, with four screws and the assembly key aligned to the mounting holes.

Route the Apple USB-C cable and connect it to the right-angle adapter

USB-C cable looped beneath the central strap, routed through the console, and connected to the right-angle adapter at the side.
Top view of the USB-C cable threaded through the center cable guides, looped beneath the strap, and connected to the right-angle adapter at the side.
Rear view showing the USB-C cable exiting through the notch at the base of the console.

Install the iPad and connect the USB-C adapter

iPad resting on the console with the right-angle USB-C adapter connected to its side port.

Reinstall the front bezel

Front bezel above the iPad, with arrows showing it lowering onto the console.
Underside view showing four screws aligned with the bezel mounting holes and the assembly key above one screw.
Completed console with the front bezel surrounding the iPad.

Anchor the cable to the underside of the table (optional)

Rear view of the console on a tabletop, with the cable routed over the edge and a cable anchor and screw aligned below the table.
Close-up of the cable anchor around the cable beneath the tabletop, with its screw and a screwdriver aligned below the mounting point.
H751 iPad 10th Gen Zoom Rooms Console Installation Guide | Heckler