
Heckler Classroom Credenza Mk II
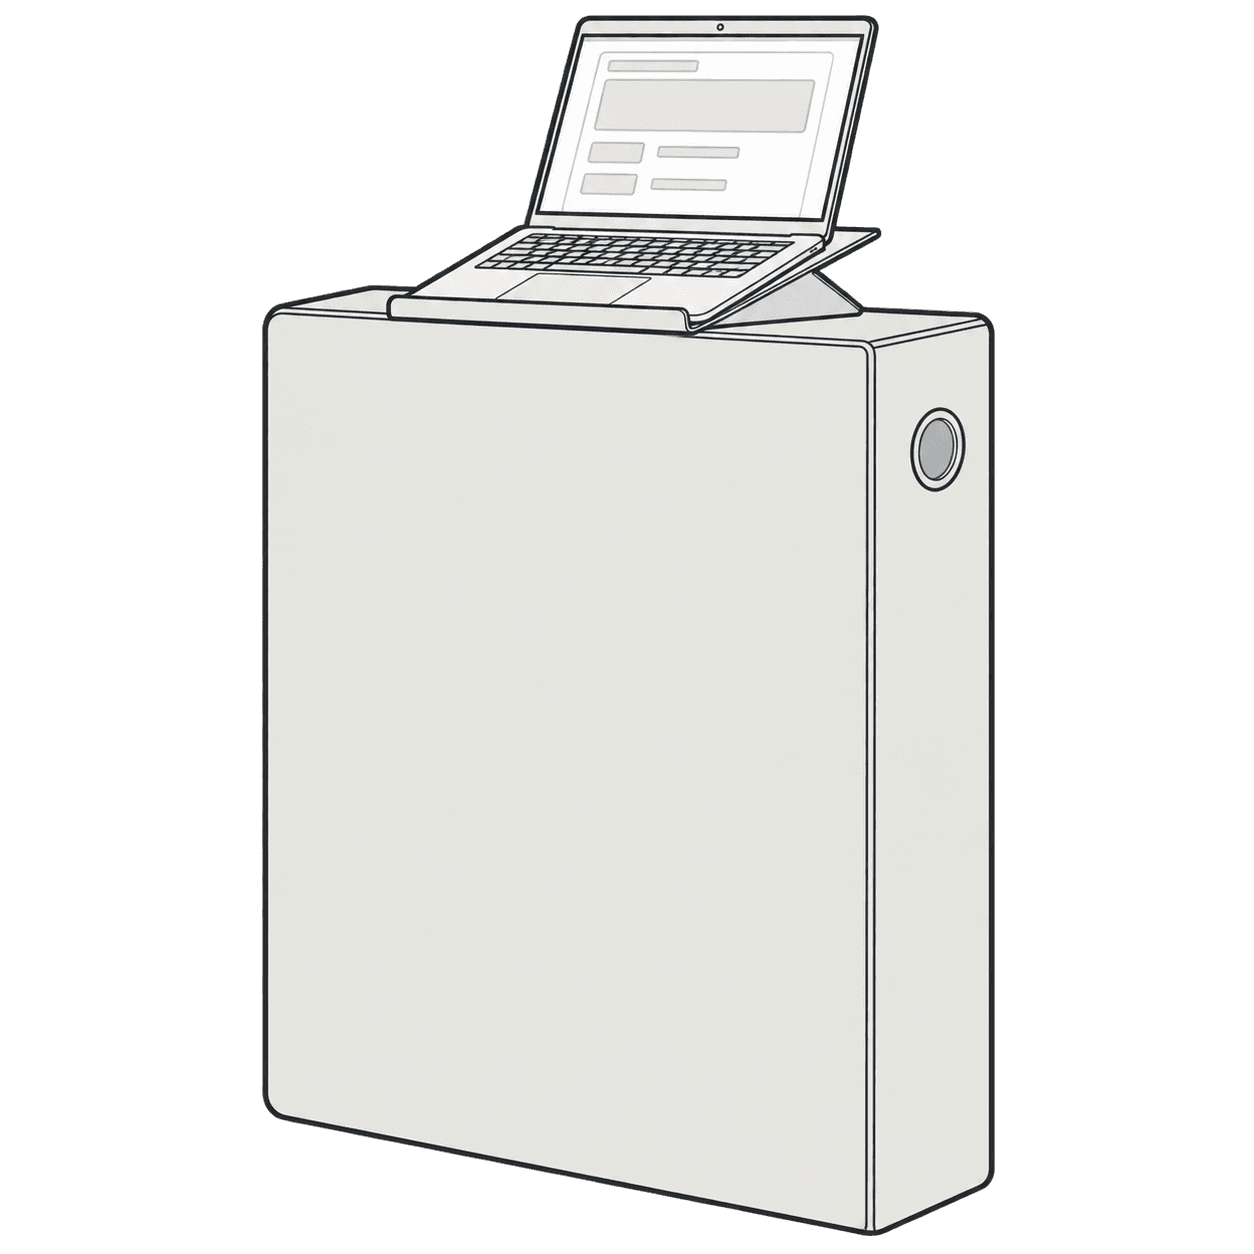
This guide is also available as a printable PDF.
Safety Information and Precautions
In the box
- 1 x Credenza body (R836)
- 2 x Console insert floor (R834)
- 1 x Lock pawl (R837-SS)
- 1 x Front panel (R831)
- 1 x Laptop shelf (R833)
- 1 x Blank console insert plate (P039)
- 1 x Laptop shelf console insert (P155+P154)
- 1 x French cleat (T025)
- 2 x Cleat fastening wingnut (F773)
- 4 x Bottom bumper (P153)
- 4 x Wall toggle anchor (F727)
- 3 x Wall mounting screw (F945)
- 3 x Wall mounting washer (F731)
- 32 x Rackmounting screw (F938)
Recommended installation tools
- Pen
- Level
- Tape measure
- Stud finder
- Drill
- 3/4 inch Spade or Forstner bit. For drilling a 3/4" hole through steel studs, we recommend using a conical step bit.
- Phillips screwdriver
Remove front panel, console inserts and laptop shelf
Access the accessory bag from the rear window of the body. Use the key inside to unlock the panel.
Remove the Front Panel. Carefully lift the panel upwards, then forward.
Turn the handles on the console inserts and remove them from the body.
Unfasten the wingnuts and remove the laptop shelf from the body.
Install French cleat
Determine the left-to-right center point where the credenza will be installed.
Mark the wall 42 inches above the finished floor at this location.
Mark the wall stud positions along the cleat’s length, 37-1/4 inches above the finished floor.
Install the First Wall Anchor. Starting at the cleat’s center, drill and install the first wall anchor.
Fasten the Cleat to the Wall. Secure the cleat at the center position. Level the French cleat then mark two additional mounting points using the cleat as a template.
Parts
A: 3 x SNAPTOGGLE Wall Anchors
B: 3 x Screws (3/8-inch diameter, 2-1/2 inches long)
C: 3 x Washers
Install Additional Anchors. Install two additional wall anchors and fasten the cleat to these points.
Install bottom bumpers to the credenza
Install AV equipment into the credenza
Remove the Front Panel. Carefully lift the panel upwards, then forward.
Install rack-mounted components
Use 10-32 rack-mounting screws to fasten your rack mounted components.
Install small components
Use 1RU rack shelves to mount small components into the rack area.
In addition, you can mount small components to the floor and rear wall of the credenza.
Install cooling fans
There are four mounting positions for 80 mm cooling fans. The two lower positions should be used to pull room air into the credenza. The two upper positions should be used to push warm air from the credenza.
Install the credenza onto the wall
With two people, use the integrated handles to carefully hang the credenza on the French cleat.
Fasten two wing nuts to the French cleat to fix the Credenza to the wall.
Install the blank console insert
Install the laptop shelf console insert
Install the front panel
Questions?
Email us at service@heckler.com
Call us at (844) 432-5930
Chat with us at heckler.com