
Heckler AV Wall Structure
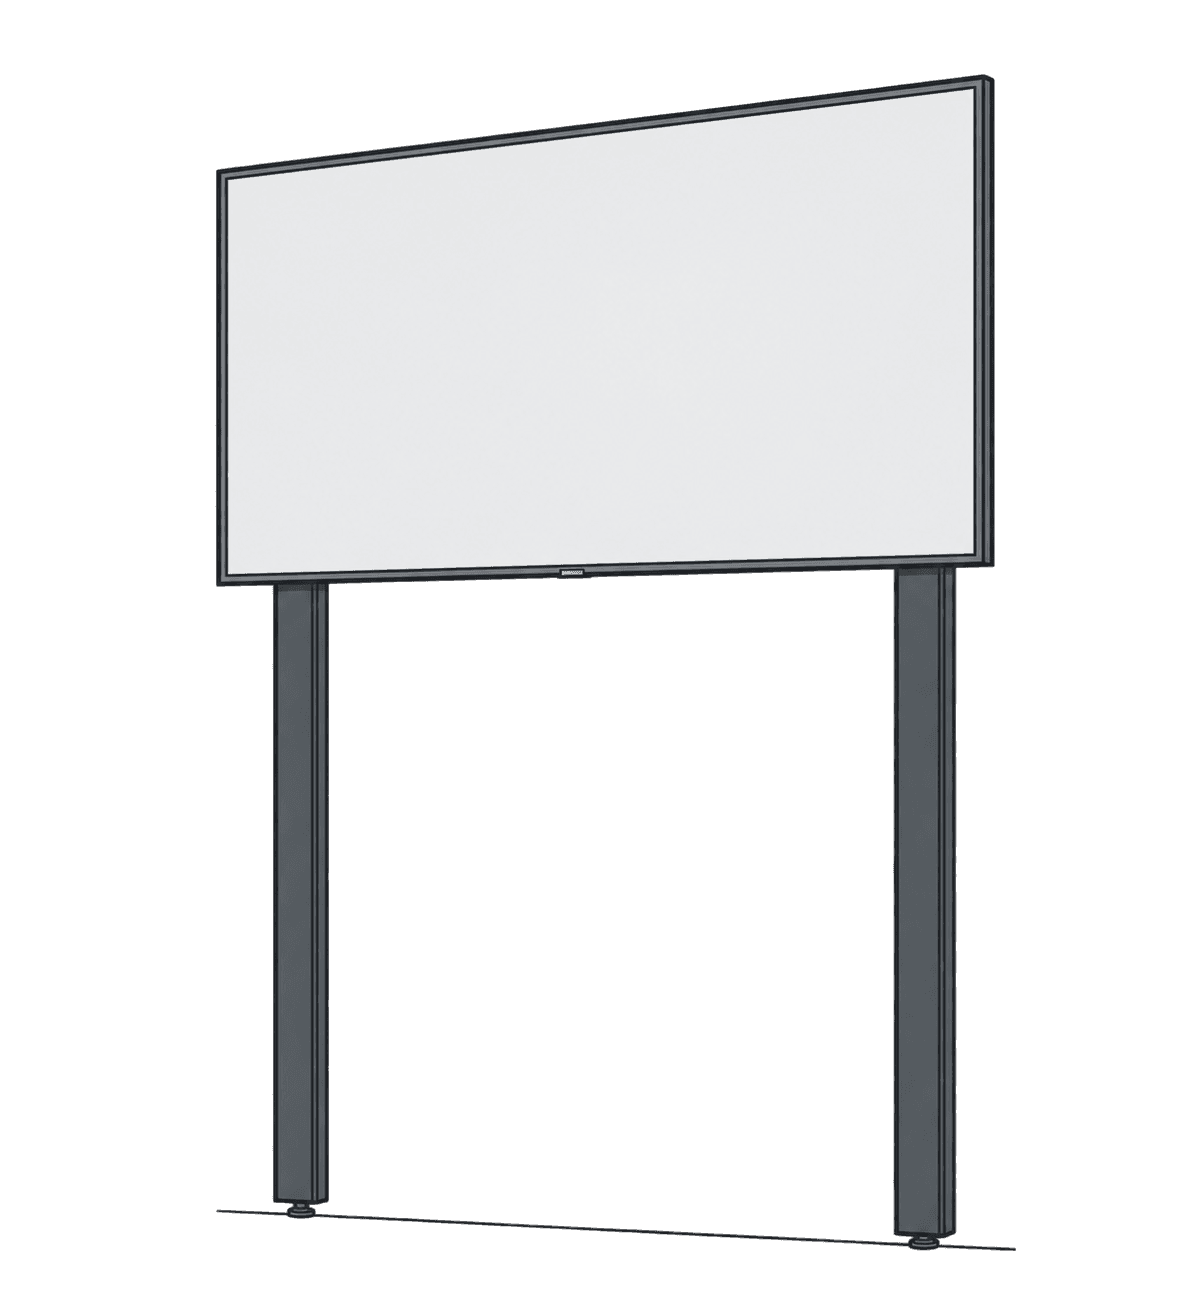
This guide is also available as a printable PDF.
In the box
- 2 x Leg (R600)
- 2 x Display Rail (R602) + 2 x Display Hook (R603)
- 1 x Horizontal Beam (R601)
- 4 x Cable Guide (R604)
- 3 x Snaptoggle Wall Anchor, ⅜”-16 (F727)
- 2 x Wall Anchor Screw, ⅜”-16 thread, 2.5” long (F945)
- 2 x Washer (F967)
- 2 x Nylon Spacer, ¾” long (F961)
- 1 x Display Mounting Kit (F742)
Tools needed
- Tape measure
- Masking tape
- Pen
- Digital stud finder
- Power Drill. Battery-powered drills are recommended.
- 1/8-inch Drill bit
- ¾-inch diameter step drill bit.
Prepare horizontal beam
Measure the horizontal spacing of your display’s mounting holes. If they are 400mm (15.75 inches) apart, on-center, you may continue to the next step. If they are not 400mm apart, move the bumpers to the corresponding positions as shown.
Assemble structure
Fasten the horizontal beam to both leg parts as shown. Use the preinstalled wing nuts. Tighten the wing nuts by hand.
Prepare wall
Locate wall studs
Carefully move the assembled Structure to its installation location in your meeting room.
While one person supports the structure to the wall, have a second person adhere a strip of masking tape to the wall along the full length of the lower edge of the horizontal beam.
Using a high-quality stud finder, find and mark the locations of each wall stud onto the masking tape along the full length of the masking tape. Be sure to locate the left side and right side edge of each stud.
Determine wall anchor locations
Shift the Structure’s location slightly to the left or right as needed to vertically align the pill-shaped holes on the horizontal beam with the wall stud locations marked on the masking tape.
Select the two studs to anchor the Structure. We recommend selecting studs closest to legs of the Structure.
For each of the two stud locations, use a pen to trace the pill-shape hole onto the wall.
Carefully move the Structure clear of your installation location.
Drill wall anchor holes
Using a power drill and small drill bit (1/8th inch or smaller), drill a small hole through the drywall to the left and right edge of the stud of your anchoring points. The drill bit should not touch the stud. Now drill a third hole, vertically centered, within the pill-shape you have drawn on the wall. The drill bit should touch the wall stud. Make a small hole in the stud as a pilot hole. Repeat this process for both stud-anchoring locations.
You have now verified that your anchoring locations will be nicely centered on your studs.
Using a power drill and a ¾ inch maximum diameter step bit, drill a clean ¾-inch diameter hole through the drywall and the face of the steel stud at both anchoring locations.
Install SNAPTOGGLE anchors
1. Hold metal channel flat alongside plastic straps & slide channel through the hole. Minimum clearance behind wall: only 1-7/8” 2. Hold ends of straps together between thumb & forefinger and pull toward you until channel rests behind wall. Ratchet cap along straps with other hand until flange of cap is flush with wall. 3. Place thumb between straps at wall. Push thumb side to side, snapping off straps level with flange of cap. 4. Place item over flange. Insert bolt and tighten until snug against item, then stop. Use machine screw or bolt to match thread in metal channel.
The following video demonstrates a similar toggle-anchor installation using different hardware.
This demonstration uses 1/4-20 Elephant anchors. Follow this kit’s instructions above for its 3/8-16 SNAPTOGGLE anchors and 3/4-inch holes.
Fasten structure to wall
Reposition the Structure to align with your wall anchor positions.
Fasten the Structure to the wall as shown using the screws, washers, and spacers included.
Level structure
Level the structure by adjusting the leveling feet by hand while referencing the integrated bubble level.
Place a bubble level on the front face of each leg and adjust the leg position to position it true vertical.
Place a bubble level on the side of each leg and adjust the leg position to position it true vertical.
Fully tighten both anchor screws.
Determine display height
Place masking tape on the wall at the height where you would like to position the bottom edge of your display.
Measure the distance between the tape and the top edge of the horizontal beam.
Fasten display rails to display
With your display standing in its packaging or leaning against a wall, use a tape measure to measure up from the bottom edge of the display.
Place masking tape on the back of your display at measurement X. You noted this measurement in the previous step.
Position a display rail against your display so that the cork liner on the rail hook aligns with measurement X.
From the provided set of display-mounting screws, select the correct length and size of screws for your display’s mounting holes. Fasten each display rail to your display.
Hang display
Connect the HDMI and power cable to the display.
Carefully lift the display and move close to the structure.
Lower the display onto the beam so that the hooks do not touch the display-locking bumpers. Rest the cork-lined surface of the hooks directly and firmly on the beam.
Slide the display to the right, towards the center of the structure until the display is centered on the structure. You will feel the rubber bumpers engage with the hooks.
Route cables
Use the cable guides to organize the cables inside vertical legs.