
ADA Panel Set for Heckler AV Wall
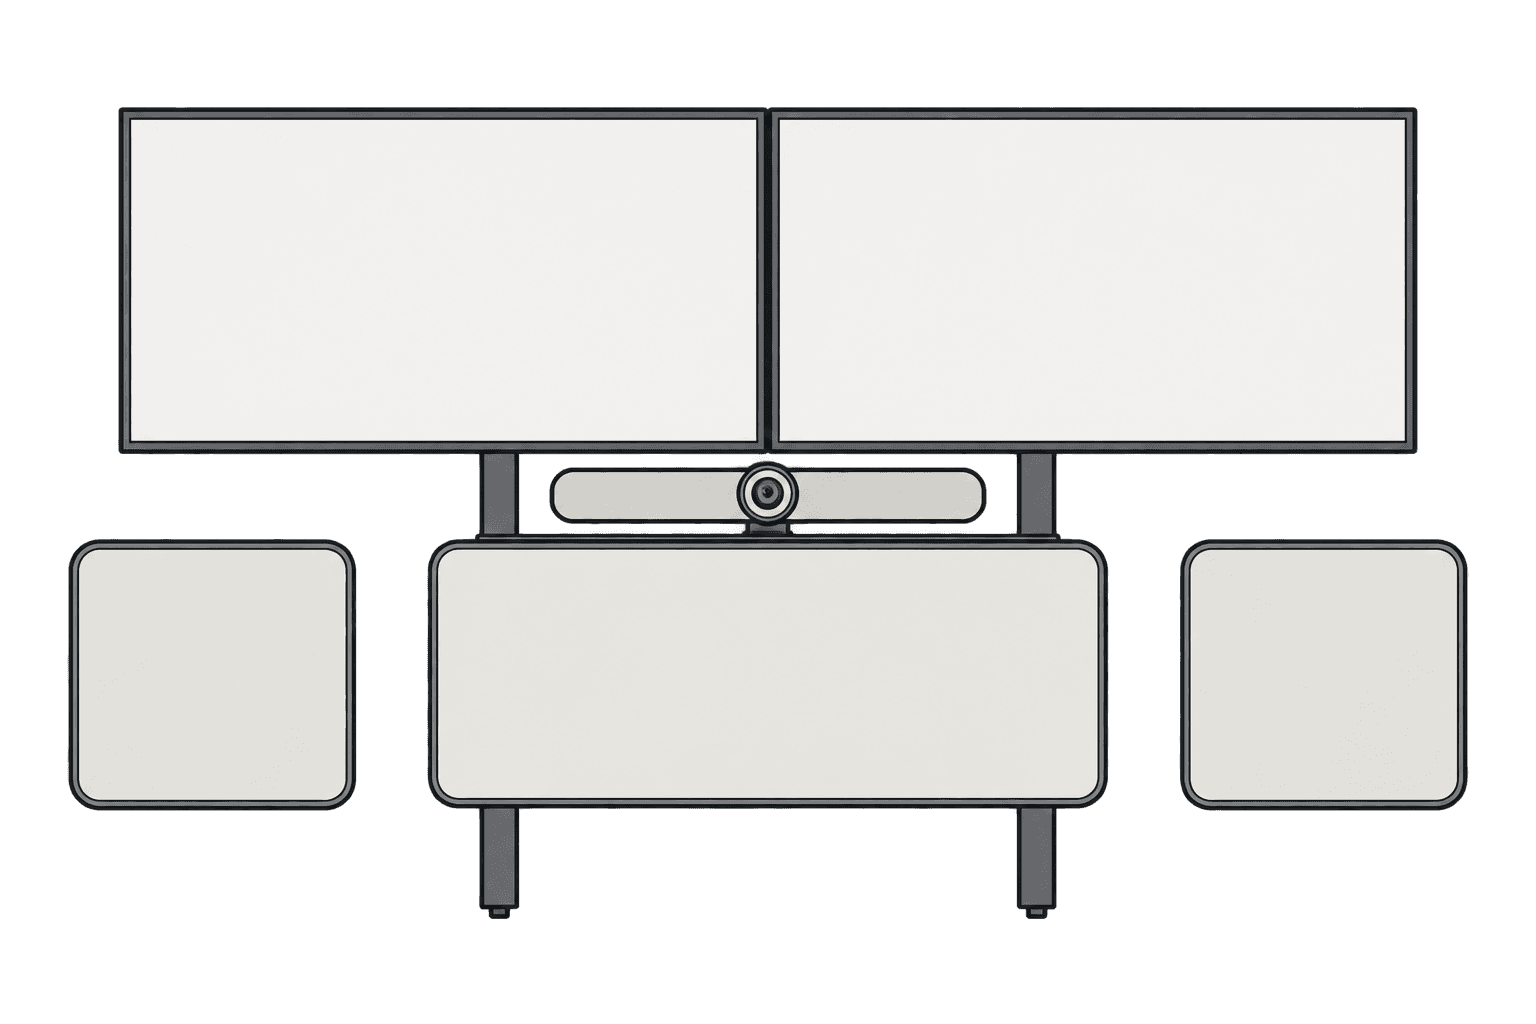
This guide is also available as a printable PDF.
In the box
- 2 x ADA Panel
- 2 x Installation template
- 8 x Wall mount cup (P164)
- 8 x Panel mount anchor (P165)
- 8 x Wall mount anchor (F155)
- 8 x Wall mount screw (F360)
- 8 x Wall mount washer (F896)
- 8 x Panel mount screw (F251)
- 4 x Push pin (F254)
How Heckler ADA Panels Work
The guide path of a room is defined by the objects near the walls, at 27 inches above the finished floor (AFF) or lower. The objects in this area are used for navigation for individuals with visual impairments. If no objects are present in this area, the wall is used as the guide path.
For the wall-mounted objects shown here, ADA Section 307.2 limits horizontal projection into a circulation path to four inches when the leading edge is above 27 inches and no higher than 80 inches above the finished floor. See the U.S. Access Board guidance.
In this example, a thin display is mounted to the wall and protrudes from the wall less than four inches. This example meets the illustrated protrusion limit.
In this example, a camera is mounted below the display. The camera protrudes from the wall more than four inches. This example exceeds the illustrated protrusion limit.
In this example, the panel intersects the 27-inch cane-detection height and projects three inches from the wall. The illustration shows objects above the panel projecting up to four inches beyond it: up to seven inches from the wall and four inches to the left and right of the panel. Required reach ranges, clear floor space, and circulation width must remain unobstructed. See the U.S. Access Board guidance for the applicable protruding-object requirements.
Determine the mounting position
Use a laser level to mark the top edge of your preferred panel location.
Use the push pin provided to pin the first installation template at your preferred location as shown below.
Adjust the installation template until it is level with the laser line, then secure it with the second push pin. Mark the four mounting-hole locations on the wall.
Use the same laser line to align the second ADA panel template at the same height and repeat the steps above.
Mount the wall mount cups
Install the wall mount anchors.
Install the wall mount cups with screws and washers included.
Install the panel anchors
Install four panel anchors to the back of each ADA panel with screws provided.
Hang the ADA panel
Make sure the fabric grain direction is parallel with the ground.
Align the four cones on the panel with the wall-mount cups. Fully press each cone into its cup until you hear a click.