Welcome to the new Heckler website. Need help or want to share feedback? Use chat or the Feedback tab.

Skip to guide content
H924-BK

Display Mount Kit for Heckler Lectern 4U

Check the display mounting pattern and position, fit the rails and sockets, and mount the display on Lectern 4U.
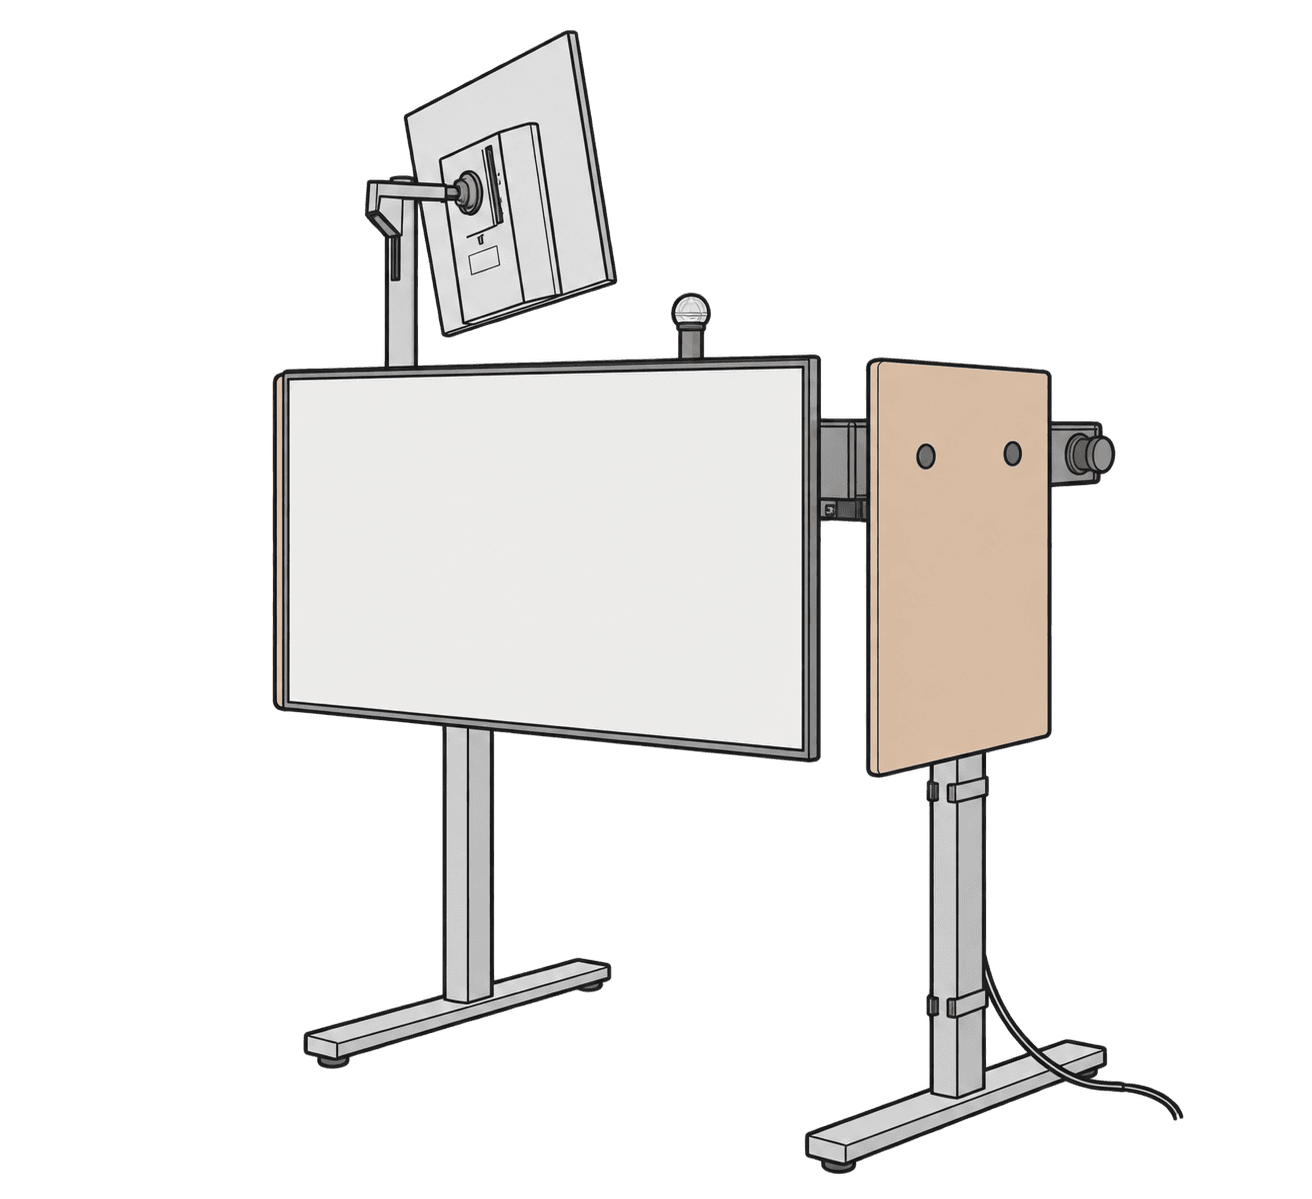
H924 front display mount fitted to a 4U lectern with a large front display and upper monitor.

This guide is also available as a printable PDF.

In the box

  • 2 x Display Mount Socket
  • 2 x Display Mount Rail
  • Assembly hardware
Included parts: two display rails, two display-mount sockets, mounting screws, wing nuts, and a hex key.

Verify that your display has a VESA 200 × 200 mm mounting pattern.

Rear display diagram showing a 200 mm by 200 mm VESA mounting pattern.

Measure the distance between the top edge of the display and the top VESA mount hole on the display

Rear display diagram measuring from the top edge to the upper VESA mounting hole, with an 18 cm example label.

Fasten the rails using the nearest shorter setting.

Choose the nearest available rail setting shorter than the distance you measured on your display, then fasten both rails to the back of the display. For example, for an 18 cm display measurement, use the 17 cm rail setting shown.

Two rails fastened to the rear display holes, with a 17 cm example label between a rail’s top and the upper mounting screw.

Mount the two Display Mount Sockets to the back of the Heckler Lectern 4U.

Animation showing the two sockets fastened to the lectern’s rear slots using screws, wing nuts, and a hex key.

Slide the display with its attached rails into the sockets and ensure it fits securely.

Animation showing the display and attached rails lowered into the two rear sockets.

Connect your display.

H924-BK Lectern 4U Display Mount Installation Guide | Heckler