
H649 Wall Mount MX for iPad Air 13-inch and iPad Pro 12.9-inch
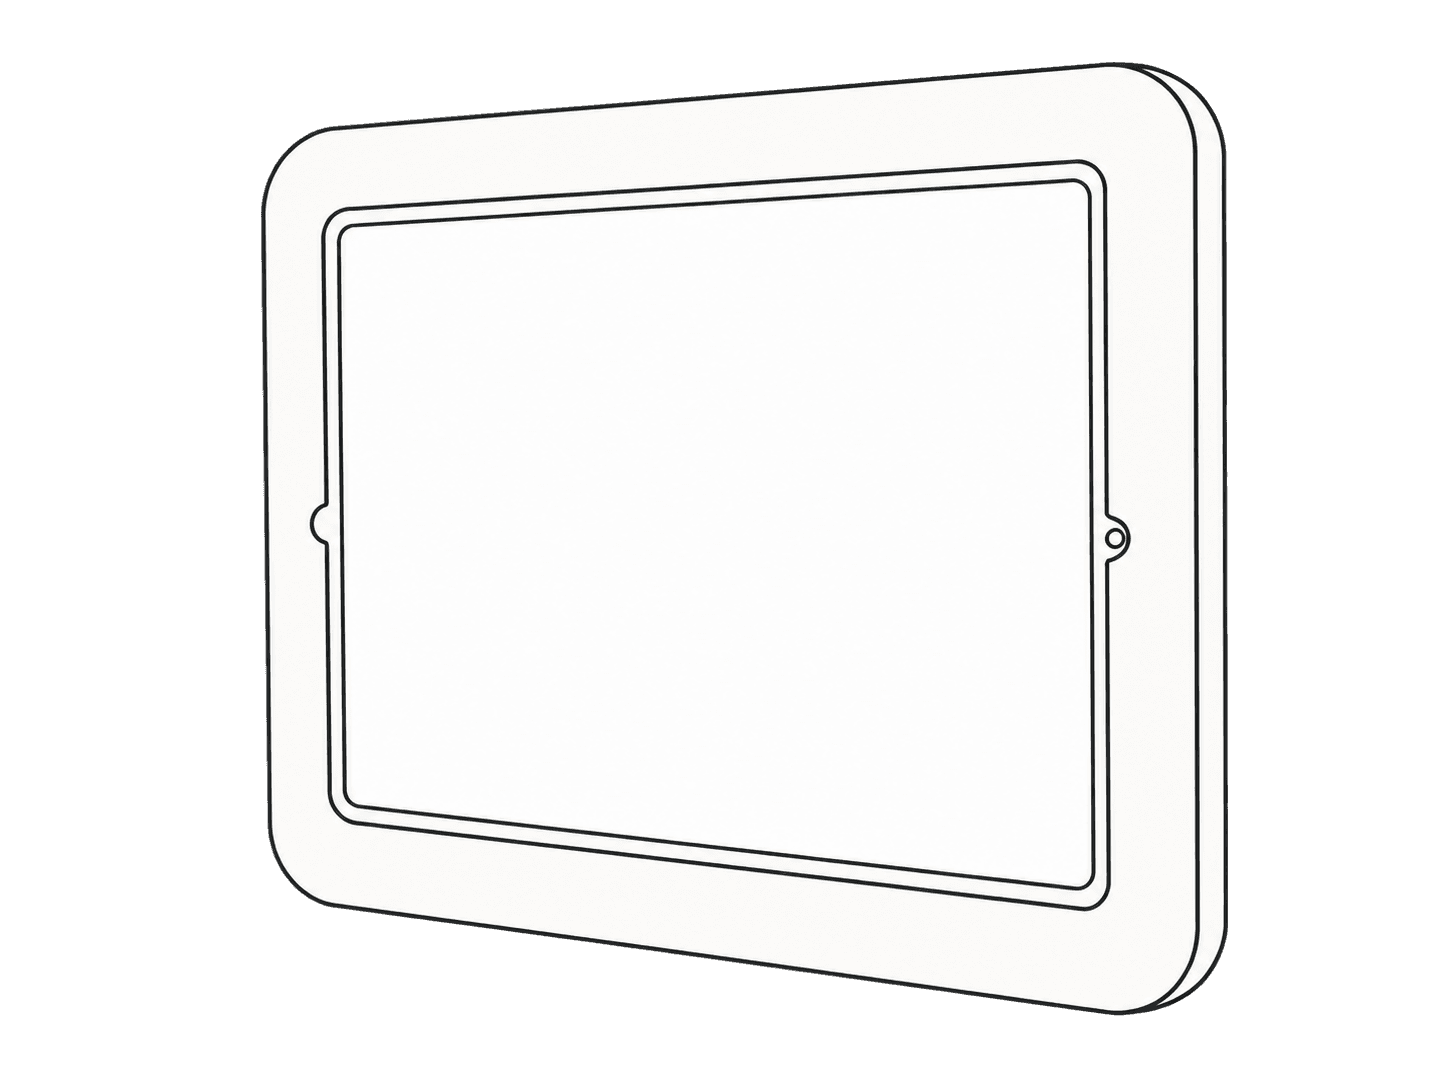
This guide is also available as a printable PDF.
Assembly overview
Choose one mounting method. For a recessed gang box and PoE connection, begin with Separate the wall bracket and continue through the installation tasks. For an exposed USB-C power cable and Wi-Fi, use Mount directly to drywall. Before mounting, check the iPad model and installed iPadOS version in Settings → General → About. If using Guided Access, set it up and test entry and exit before fitting the iPad.
In the box
- 1 enclosure and wall-bracket set (R537-BG)
- 4 gang-box mounting screws (F913)
- 2 self-drilling drywall anchors (F155)
- 2 drywall-anchor screws (F360)
- 1 2.5 mm assembly key (F529)
- 1 1/8-inch ball-ended assembly key (F914)
- 1 hook-and-loop cable tie (F817)
- 1 right-angle USB-C adapter (F102)
The PoE Texas PoE+ to USB-C converter (T515) is included with the H652-BG adapter bundle only.
The mount arrives assembled with bracket screws (F553), the enclosure set screw (F912) and a hook-and-loop strip (F947) already installed.
Tools and materials
Gather the tools and cables for the chosen mounting method.
- Double-gang box for the recessed installation
- Bubble level
- Drywall saw for the recessed installation
- Phillips screwdriver; a power screwdriver is optional
- Apple USB-C cable for the iPad
- Ethernet cable: Cat5e minimum; Cat6 or better recommended
- IEEE 802.3at PoE+ switch or injector for a PoE installation
Use the supplied drywall anchors and screws for drywall mounting, or the supplied gang-box mounting screws for a gang-box installation. Tighten fasteners until snug without overtightening. For other wall construction, have a qualified installer select suitable fixings.
Safety information before cutting
Check for concealed wiring and pipes before cutting or installing anchors. If you are unsure how to locate hidden services, isolate power or carry out the work safely, use a qualified installer. Keep the low-voltage PoE converter and its cables inside the gang box, separate from mains wiring.
Separate the wall bracket
Loosen the enclosure set screw (F912) with the ball-ended key (F914). Do not remove the screw. Separate the wall bracket from the enclosure. Leave the preinstalled hook-and-loop strip (F947) on the bracket for securing the adapter or bundled cable.
Mark the gang-box location
The gang box sits off-center behind the enclosure. Use the mount to locate it.
- Hold the enclosure level at the intended position. Check that nearby doors will clear the installed iPad, mount and cables.
- Use the mount as a template to mark the four bracket fixing positions.
- Position the gang box using those marks. The elongated bracket slots allow final adjustment.
Cut the opening and install the gang box
Use the marked fixing positions to locate the box.
- Place the gang box against the wall and trace the opening.
- Check for concealed wiring and pipes. Verify that power to affected circuits is off, then cut along the outline with the drywall saw.
- Route the Ethernet cable through the box and insert the box into the opening.
- Tighten the top-right and bottom-left retaining screws to deploy the box's retaining tabs.
Connect the PoE adapter
Connect the Ethernet cable from an IEEE 802.3at PoE+ source to the converter (T515, PoE Texas AT-USBC-JB). Place the low-voltage converter inside the gang box. Follow the manufacturer's instructions if using a different model or cable.
Fasten the wall bracket
Align the bracket's four slots with the gang-box fixing holes. Install the four gang-box mounting screws (F913) through the slots. Adjust the bracket position, then tighten until snug. Do not overtighten.
Fit the iPad in the enclosure
Use the 2.5 mm key (F529) for the bracket screws (F553).
- Remove the bracket beside the iPad's USB-C port. Loosen the other three brackets without removing them.
- Slide the iPad beneath the three remaining brackets and tighten them.
- Refit the connector-side bracket, leaving it loose for the cable connection.
- Connect the right-angle USB-C adapter (F102) to the Apple cable and insert it into the iPad.
- Finish tightening the connector-side bracket.
Connect the cable and hang the enclosure
T515 (PoE Texas AT-USBC-JB) has a power-only USB-C output and a power-and-data USB-C output.
- For power and Ethernet, connect the free end of the Apple USB-C cable to the power-and-data output. Use the power-only output only if Ethernet is not needed.
- Wrap the excess USB-C cable and secure it with the loose cable tie (F817).
- As needed, use the bracket's preinstalled strip (F947) to retain the adapter or bundled cable.
- Place the adapter and cable inside the gang box, behind the wall bracket.
- Hook the enclosure's upper notch over the bracket and let the enclosure hang vertically.
Verify power and Ethernet, then secure the enclosure
For iPadOS 27.2 and 26.7.2. Check the connection before tightening the enclosure set screw. With the power-only output, check charging and confirm that the app connects over Wi-Fi; skip the Ethernet checks.
- Unlock the iPad. If asked to allow the connected accessory, approve the connection.
- Look for a lightning bolt on the battery icon at the top right of the screen to confirm charging.
- For the Ethernet test, open Settings → Wi-Fi and turn Wi-Fi off. On a Wi-Fi + Cellular model, also turn off Cellular Data in Settings → Cellular Data (or Cellular).
- Open Settings → Ethernet, select the connected adapter and confirm that the network has assigned an IP address. The adapter's displayed name may vary.
- With Wi-Fi and cellular data off, open the installation's app and check that it connects to the required service. If charging, the Ethernet entry or the app connection is missing, complete Troubleshoot power or Ethernet before securing the enclosure.
- After the wired connection passes, restore Wi-Fi or cellular data only if the installation requires wireless backup.
- Once power and the network connection work, tighten the bottom set screw (F912) with the ball-ended key (F914). Keep the key clear of the wall and stop when the enclosure is snug.
If the adapter is not recognized, disconnect its USB-C connection to the iPad, unlock the iPad and reconnect it. Follow Apple's wired-accessory guidance and use the network settings supplied by the site's administrator.
Troubleshoot power or Ethernet
Check the converter connections before securing the enclosure.
- Confirm that the PoE+ source is connected. If Ethernet is needed, check that the USB-C cable uses the converter's power-and-data output.
- If power or data repeatedly turns on and off, unplug the USB-C plug at the converter, rotate it 180 degrees and reconnect it.
- Repeat Verify power and Ethernet, then secure the enclosure. Secure the enclosure only after the checks pass.
With continuous power, iPad may temporarily adjust battery capacity to protect battery health. See Apple's charge-management guidance.
Set up Guided Access (optional)
For iPadOS 27.2 and 26.7.2. Use Guided Access to keep the iPad in one app. Complete setup and test entry and exit before fitting the iPad: the enclosure partly covers the top button.
- Open Settings → Accessibility → Guided Access and turn on Guided Access.
- Open Passcode Settings → Set Guided Access Passcode. Enter and confirm a passcode, and keep it available to the person maintaining the installation.
- Return to Guided Access and open Display Auto-Lock. Choose the required timeout; select Never if offered and the display must stay awake during the session.
- Open the intended app and triple-click the iPad's top button. If the Accessibility Shortcuts panel appears, tap Guided Access.
- If the setup screen appears, open Session Settings to choose the allowed controls. Leave Touch on for an interactive display. Tap Done, then Start. An app with saved Guided Access settings may start its session immediately.
- To end a session, triple-click the top button and enter the Guided Access passcode. Select Guided Access if the shortcuts panel appears, then tap End. Tap Resume instead to continue the session.
- Test starting, ending and restarting a session before fitting the iPad. After fitting it, confirm that the top-button shortcut remains accessible before starting Guided Access for normal use.
Software guidance reviewed October 31, 2026. See Apple's iPadOS 27 Guided Access guide or iPadOS 26 guide. For another release, select that version in Apple's guide. To change the normal display timeout, end Guided Access, then open Settings → Display & Brightness → Auto-Lock and choose the required interval.
Mount directly to drywall (alternate method)
Choose this method for an exposed power cable and Wi-Fi. Do not follow the recessed gang-box procedure.
- Follow Separate the wall bracket. Hold it level and check that nearby doors will clear the installed iPad, mount and cables. Mark the anchor positions away from studs.
- Check for concealed wiring and pipes at the anchor positions. Switch off power to affected circuits and verify that it is off before installing the anchors.
- Install the self-drilling drywall anchors (F155). Fasten the bracket with the anchor screws (F360), tightening until snug without overtightening.
- Follow Fit the iPad in the enclosure to install the iPad and connect the Apple USB-C cable.
- Hang the enclosed iPad on the bracket and level it.
- Tighten the enclosure set screw (F912) with the ball-ended key (F914) until snug. Do not overtighten.
- Connect the USB-C cable to the Apple power supply and plug it into an outlet. Check that the iPad is charging, then connect it to Wi-Fi.